
Adding a Tab for DayBack
In this article:
In Salesforce
To access your calendar quickly, you may want to create a tab for DayBack. This guide will show you how to add a DayBack tab to an existing app. For instructions on using DayBack in Console Apps or Utility items, refer to this article.
Salesforce Classic
- 1
- Click the plus button to the right of your last tab.
- 2
- Click "Customize my tabs" at the top-right of the list that follows.
- 3
- Choose "DayBack" from the list of available tabs and add it to the selected tabs.
- 4
- That's it.
Lightning
You can access DayBack from the App Launcher under "Other Items." For notes on rearranging items inside the App Launcher, see this guide.
To add DayBack to the navigation menu for a specific app:
- 1
- From Setup, search for "App Manager" in the Quick Find box.
- 2
- Find the app you want and click the triangle at the far right of the row, then select "edit". If you see "manage" instead of "edit," you're looking at the app-package tab itself, which can't have tabs added to it. Select an app that has "edit" as an option.
- 3
- Click on "Navigation Item" in the menu on the left.
- 4
- Search for DayBack in the list of available items and use the right arrow to move it to the list of Selected Items.
- 5
- Locate DayBack in the list of Selected Items and click to select it. Use the Up/Down arrows to move DayBack to the place where you'd like it to appear in your menu bar.
- 6
- Click the blue "Save" button. That's it!
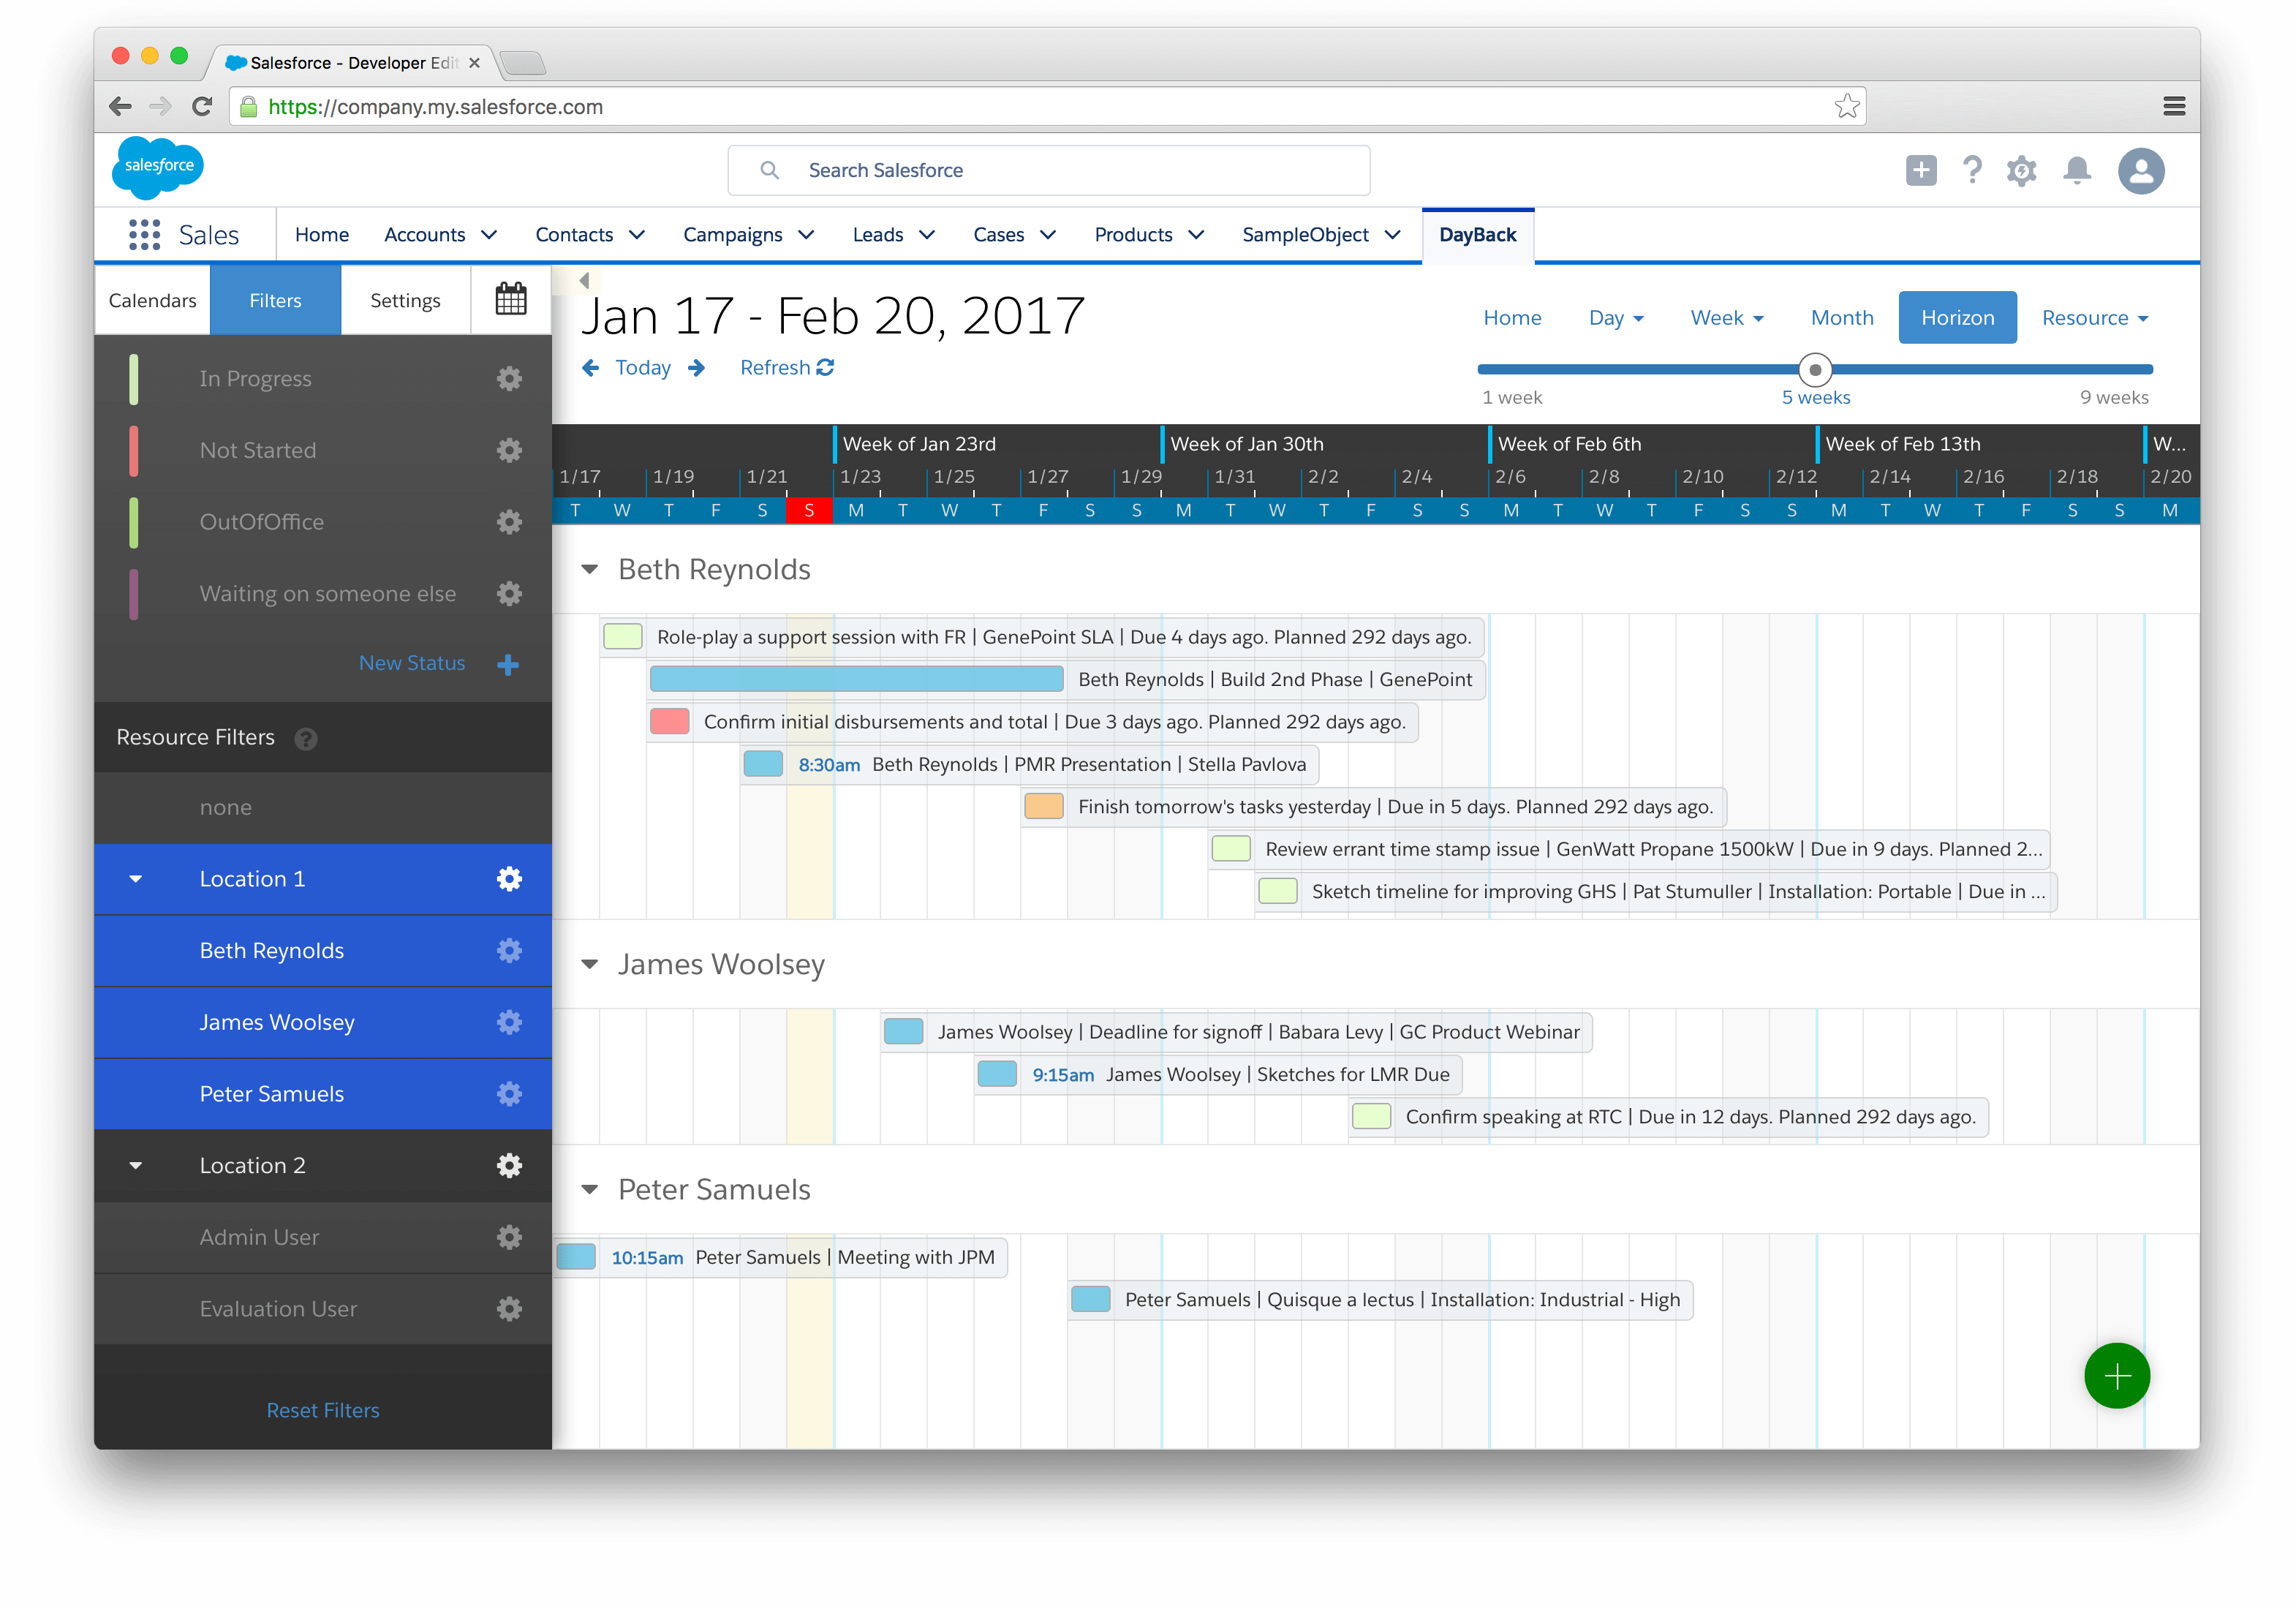
The screenshot below shows it added to the Sales app.
Adding DayBack Tabs to Other Records
In Lightning, you can also place DayBack on another record's tab, creating a record-specific calendar. This is great for displaying a project's schedule or the upcoming activities for a contact. The following screenshot shows an example of this in action. For detailed instructions, see Custom Calendar Tabs.
In FileMaker
You can also add DayBack to a tab on a particular record in FileMaker. For example, adding DayBack to a project's layout to show just the milestones for that project. Details on how to set this up can be found here: Record Specific Views.
